Follow Me On Social Media!
Oreo No-Bake Cheesecake Cups

Indulgent Mini Oreo Cheesecakes That Won’t Take a Minute to Make
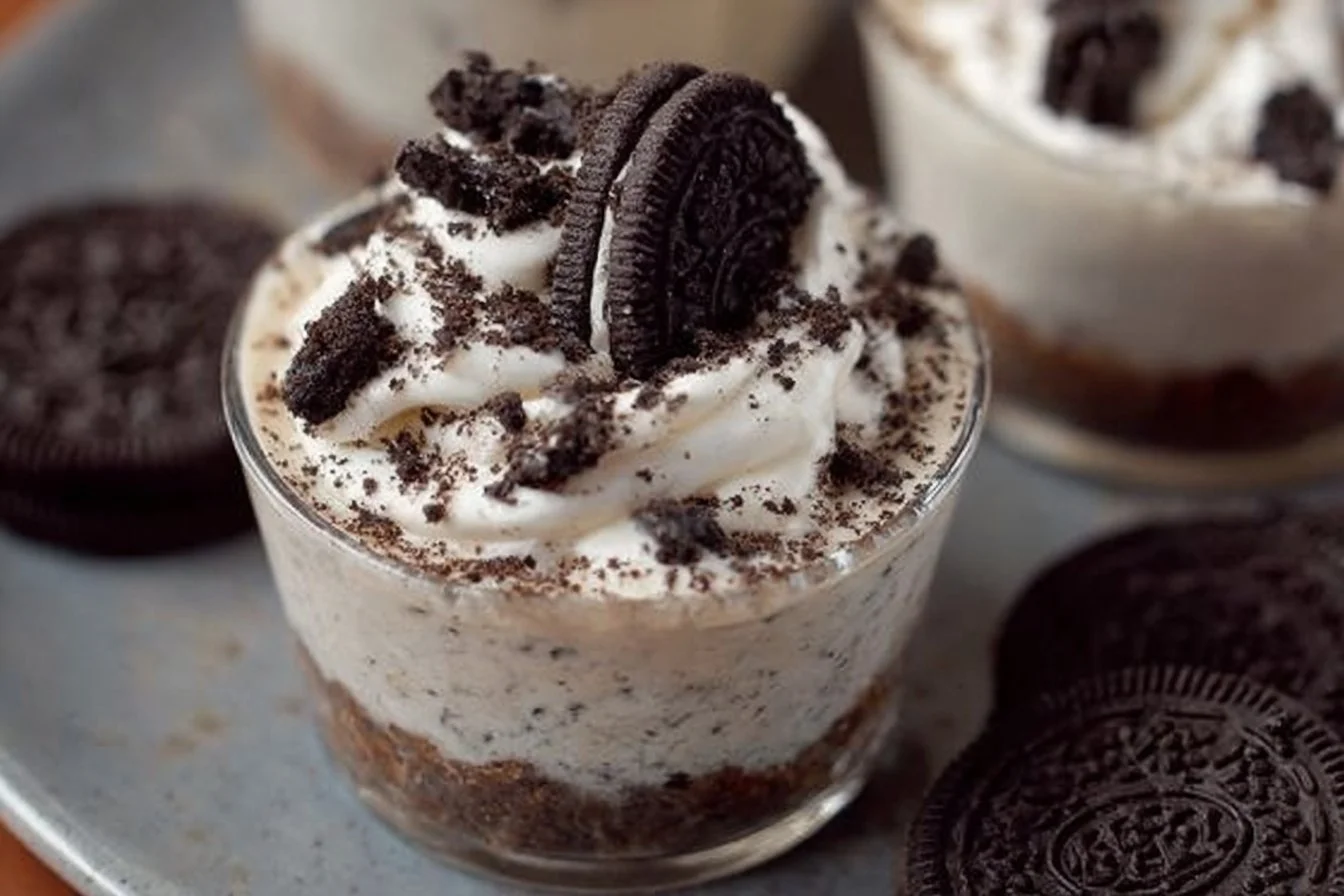
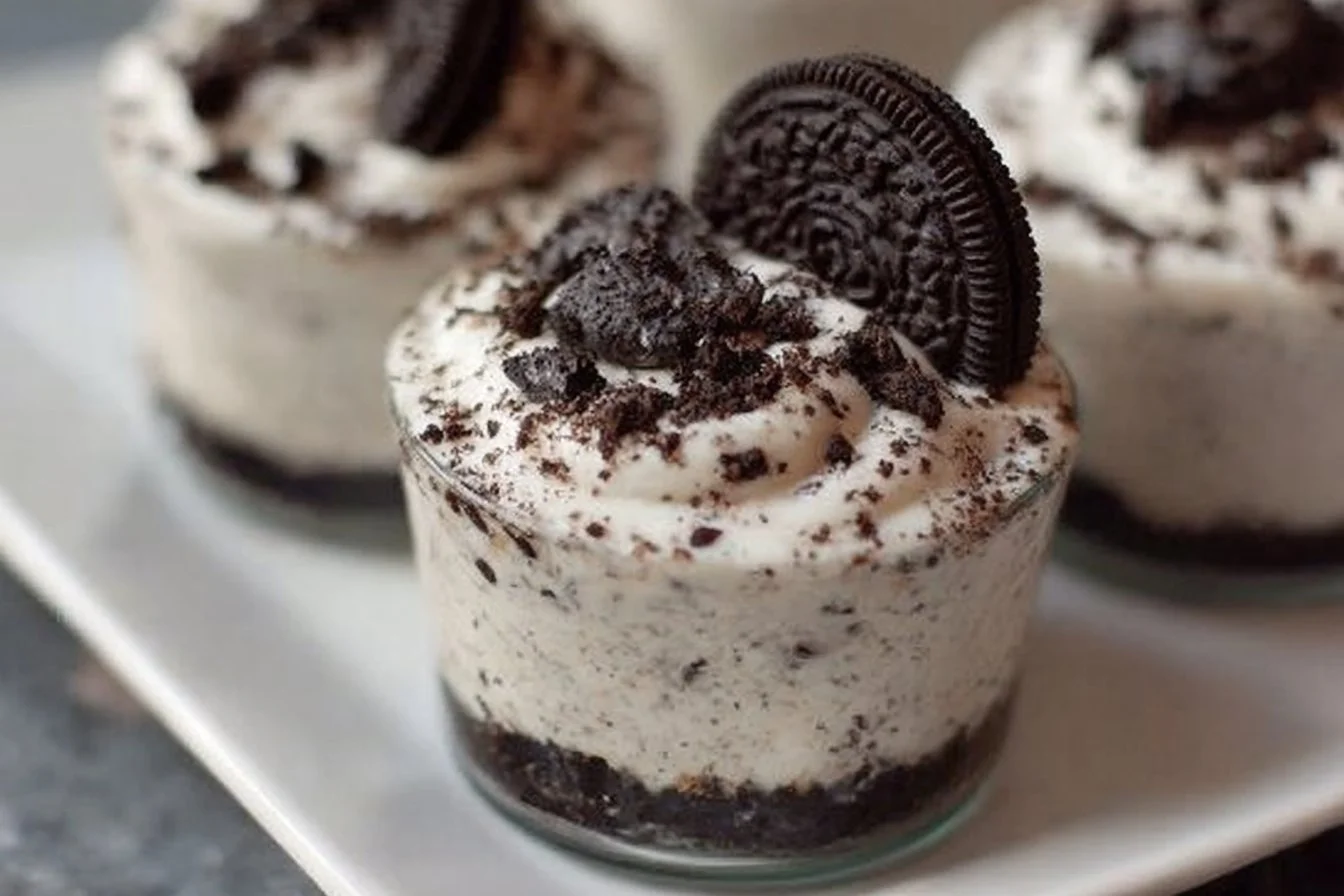
If you’re on the lookout for a dessert that’s both simple and decadent, look no further than Oreo no-bake cheesecake cups. These delightful treats feature a rich cream cheese filling layered on a luscious cookie crust, offering a perfect blend of flavors for any occasion. Whether it’s a party, a family gathering, or simply a cozy evening at home, these cheesecake cups promise to impress both you and your guests without requiring a full-fledged baking session.
These no-bake cheesecake cups bring together the beloved flavors of classic cheesecake and the iconic Oreo cookie. They are incredibly easy to whip up, needing just a handful of ingredients you probably have on hand. Plus, their individual serving sizes make them both fun and convenient. Bite-sized cheesecakes are not just delicious; they are visually appealing and will elevate your dessert game with minimal effort.
Why You Should Give This Recipe a Try
Making Oreo no-bake cheesecake cups is not just about the end result; it’s also about the experience. This recipe caters to both novices and seasoned bakers alike. With no oven required, you can create these scrumptious cups in a matter of minutes, making them the ideal solution for those who want to enjoy homemade desserts without spending hours in the kitchen.
Another reason to embrace this recipe is the versatility it offers. You can easily adjust the flavors or ingredients to cater to your needs. Want a richer chocolate experience? Add melted chocolate to the cheesecake filling. Looking for a bit of a crunch? Incorporate more crushed Oreos. The possibilities are endless, ensuring that everyone can enjoy a customized treat that satisfies their sweet tooth.
A Quick Overview of the Preparation Process
Creating these no-bake cheesecake cups begins with breaking down Oreos into a fine crust that forms the base of your dessert. The filling comes together effortlessly by blending softened cream cheese, powdered sugar, and whipped topping. Flavors meld together beautifully as you gently incorporate the crushed Oreos into the mixture.
Once the prep is complete, you’ll layer your luscious filling over the cookie crust, creating a beautifully structured cup. Chilling the cheesecake cups allows the flavors to deepen and sets the filling perfectly, ready for serving. It’s a straightforward method that doesn’t compromise on taste or texture.
Essential Preparation Tips Before You Begin
To ensure your Oreo no-bake cheesecake cups turn out perfectly, consider these preparation tips:
Cream Cheese: Make sure your cream cheese is softened properly. This is vital for achieving a smooth and creamy texture. Leave it at room temperature for about 30 minutes before starting, or microwave it gently for a few seconds, but be careful not to overheat it.
Whipped Topping: For best results, opt for a reputable brand of whipped topping or Cool Whip. The texture of the two products can vary, so you want to ensure that it creates a light and airy consistency for your cheesecake filling.
Crushing Oreos: Use a sturdy rolling pin or a heavy object to crush the Oreos into fine crumbs. If you want some larger pieces for added texture, save a few cookies out and crush them less finely to mix into the filling or sprinkle on top.
Ingredients You’ll Need
- 1 8 oz block of cream cheese, softened
- 1 8 oz. Cool Whip or whipped topping
- 2/3 c powdered sugar
- 1 tsp vanilla
- 24-26 Oreo cookies (more as desired)
Notes on Ingredients or Potential Substitutions
While Oreos form the foundation of this recipe, feel free to explore variations. For gluten-free options, you might want to check out gluten-free sandwich cookies that can provide a similar texture and flavor. You could also try flavored whipped toppings or cream cheese varieties, such as those with added vanilla or chocolate, to give your cheesecake a unique twist.
If you want to introduce additional flavors, consider adding a splash of coffee or an extract like almond for a different aromatic profile. Chocolate lovers might enjoy incorporating cocoa powder into the cream cheese mixture for an extra rich experience.
Step-by-Step Instructions for Preparing Your Cheesecake Cups
Place the Oreos in a plastic bag and seal. Using a rolling pin or a sturdy wooden spoon, crush the Oreos. Spoon 1 1/2 – 2 tablespoons of the crushed Oreos to the bottom of 6 small dessert dishes (make sure dishes are at least 3/4 cup-1 cup size). Set aside.
Using a hand or standing mixer, whip cream cheese and powdered sugar until creamy and smooth. Add the vanilla and beat to mix in. Gently fold in the Cool Whip to incorporate. Fold in remaining crushed Oreos.
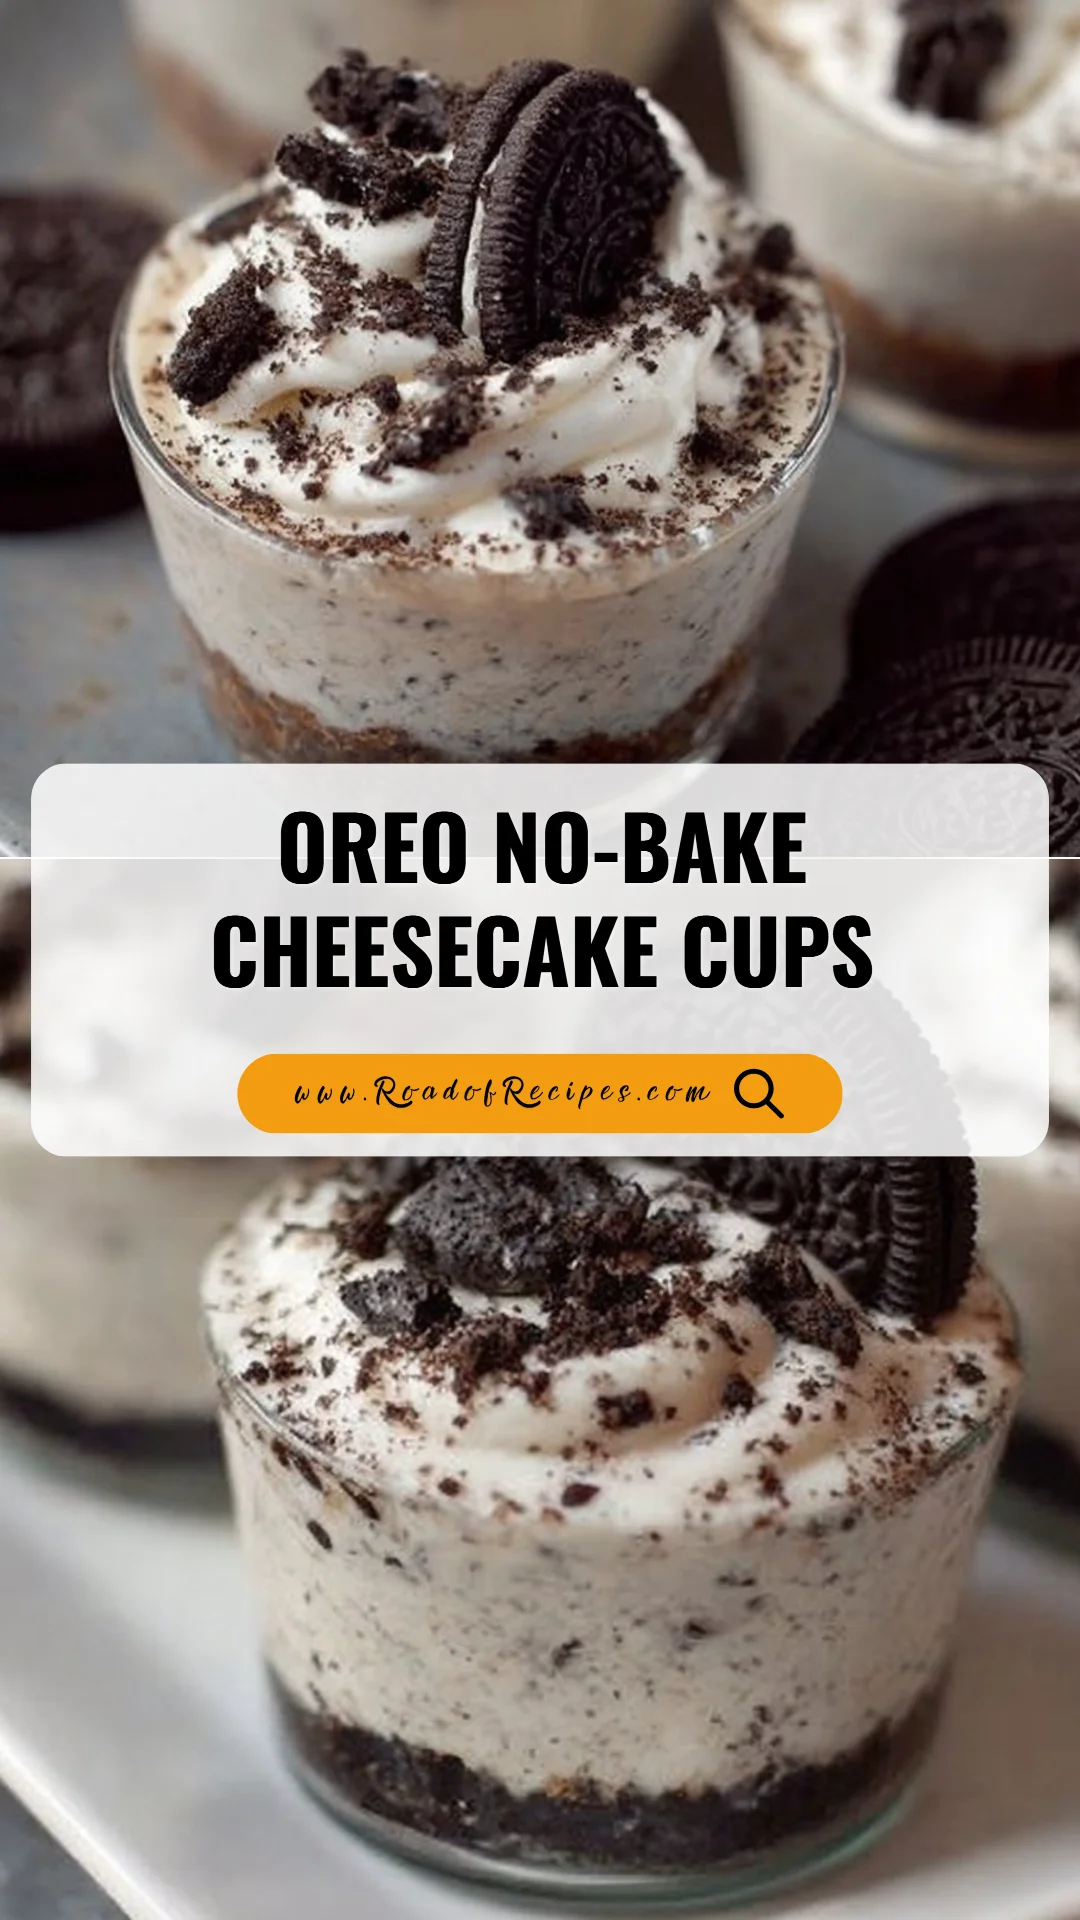
Divide the cheesecake filling evenly across the dishes and gently press onto the crushed Oreos. Chill for about 1 hour or until ready to serve. Top with whipped cream and more crushed Oreos before serving. Enjoy!
Tips for Baking Success and Flavor Balance
Doneness Check: Since there’s no baking involved, you won’t have to worry about the typical tests of doneness, like a toothpick check. Instead, focus on the texture of the filling. It should hold its shape but still have a creamy consistency.
Tasting as You Go: Make sure to sneak a taste of the cheesecake filling once it’s combined. This way, you can adjust the sweetness or flavor if necessary by adding more powdered sugar or vanilla.
Ideas for Serving Your Cheesecake Cups
These Oreo no-bake cheesecake cups can be enjoyed on their own, but they also lend themselves well to various serving options. Consider garnishing each cup with a dollop of extra whipped cream and a sprinkle of crushed Oreos for a striking presentation.
You might also serve them alongside fresh fruit like strawberries or raspberries to balance the richness of the cheesecake. If you plan to entertain, you could even set up a mini dessert bar, allowing guests to top their cheesecake cups with additional toppings such as chocolate sauce, caramel, or berries.
Storing and Reheating Your Delicious Treats
If you manage to have any leftovers, storage is simple. These cheesecake cups should be kept in the refrigerator, covered with plastic wrap or stored in airtight containers. They will remain delicious for 3-5 days, making them a great make-ahead dessert option.
As for reheating, there’s no need to apply heat to these treats! Enjoy them chilled straight from the fridge for the best texture and flavor.
Tools and Equipment You’ll Find Handy
For this simple recipe, you won’t need any specialized tools. A mixing bowl and mixer are essential, but here are a few items that can make your job easier:
Measuring Cups and Spoons: Ensuring accuracy in your ingredient amounts is crucial for the perfect cheesecake.
Small Dessert Dishes: Individual containers not only look attractive but also allow for easy serving.
Plastic Bags: Ideal for crushing your Oreos without creating a mess.
Creative Variations to Consider
While there’s nothing wrong with sticking to the classic Oreo flavor, this recipe can easily be adapted for different tastes. For instance, swap out Oreos for peanut butter cookies for a rich, nutty version. Additionally, consider adding a layer of fruit puree or flavored gel for a refreshing twist.
Alternatively, experiment with different types of chocolate cookies to create a unique dessert experience. Adding different toppings such as sprinkles, chocolate chips, or a drizzle of ganache can also wear a new look for individual servings.
Nutritional Information
Keeping track of your nutrition doesn’t have to be complicated, and with these delightful Oreo no-bake cheesecakes, you can indulge while being mindful. Each serving is approximately:
- Calories: 250
- Fat: 16g
- Carbohydrates: 25g
- Protein: 3g
Note that these figures may vary based on ingredient brands and portion sizes. It’s always a good idea to input specific brands into a nutrition calculator if you need precise details.
Common Questions About Oreo No-Bake Cheesecake Cups
Can I make this dessert in advance?
Absolutely! In fact, these cheesecake cups are perfect for making ahead of time. They must chill for at least an hour, but they can be prepared the day before and stored in the fridge.
Can I freeze Oreo cheesecake cups?
Yes, you can freeze these cheesecake cups for up to two months. Just keep in mind that the texture may change slightly after freezing and thawing. To thaw, place in the refrigerator overnight before serving.
Is there a vegan version of this recipe?
Certainly! For a vegan option, substitute the cream cheese with a vegan cream cheese alternative, use coconut whipped cream instead of Cool Whip, and ensure your Oreo cookies are dairy-free.
Final Thoughts on This Sweet Delight
Oreo no-bake cheesecake cups provide an easy, delicious way to indulge in dessert without the mess of traditional baking. Their charming presentation and delightful flavor profile make them a fantastic treat for any occasion. Experiment with flavors, toppings, and presentation styles to personalize this dessert to your liking. Whether you’re enjoying them alone or sharing with friends, these cheesecake cups are sure to impress. Whip them up today and dive into the sweet satisfaction!
Oreo No-Bake Cheesecake Cups
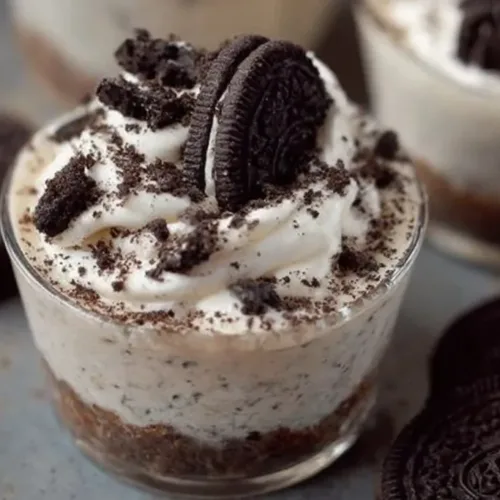
These delightful no-bake cheesecake cups are made with cream cheese and Oreo cookies, providing a rich and easy dessert perfect for any occasion.
Ingredients
For the crust
- 24-26 cookies Oreo cookies More as desired for texture
For the filling
- 8 oz cream cheese, softened Leave at room temperature for about 30 minutes
- 8 oz Cool Whip or whipped topping Use a reputable brand for best results
- 2/3 cup powdered sugar Adjust sweetness to taste
- 1 tsp vanilla extract For flavor
Instructions
Preparation
- Place the Oreos in a plastic bag and crush them using a rolling pin until fine, reserving a few larger pieces for topping.
- Spoon 1 1/2 – 2 tablespoons of crushed Oreos into the bottom of 6 small dessert dishes.
- In a mixing bowl, whip the cream cheese and powdered sugar until creamy and smooth. Add the vanilla and blend.
- Gently fold in the Cool Whip and remaining crushed Oreos.
- Divide the filling evenly among the dishes, pressing down gently on the crust.
- Chill for about 1 hour or until ready to serve. Top with whipped cream and extra crushed Oreos before serving.
Notes
To prevent separation, ensure all ingredients are at similar temperatures. For different flavor variations, consider adding a splash of coffee or cocoa powder for richness.